|
Moving Eyeball
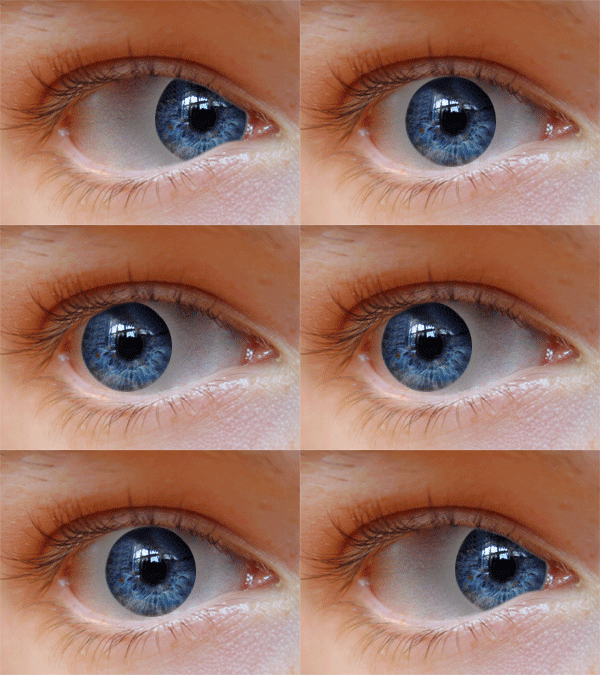
This is an animated moving eyeball tutorial in photoshop, I have tried to create it as real moving eyeball effect. This tutorial will teach you the technique to make moving eyeball right to left. I am going to use some tools and filter effect to do this.
Take an eye picture to apply this animation on; I have selected this eye
picture for the learning purpose.
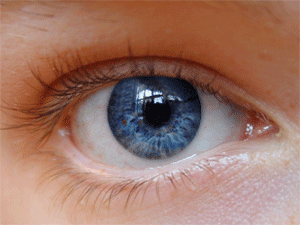
Select Elliptical Marquee Tool (M key) and make eyeball selection, press
Ctrl + X to cut and paste on the new layer. Select Spot Healing Brush Tool (J
key) and make formatting in the option bare.

Still selected upper tool click on the corner of the eye with hold Alt key to
pick color and apply on the cut eyeball area as showing by red arrow.
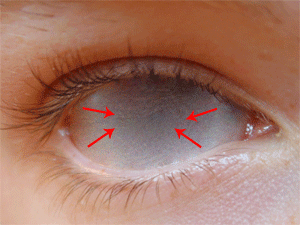
Make duplicate layer (Ctrl + J) of the cut eyeball and put on the right corner of the
eye, make eye selection by using Polygonal Lasso Tool (L key) then press Ctrl
+ Shift + I key to invert the selection and press Del key but make sure eyeball layer should be selected.
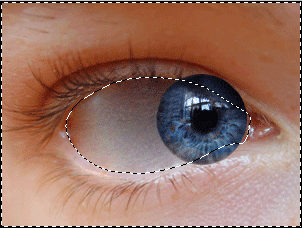
Now hold Ctrl + mouse click on the eyeball thumbnail in the layer to make eye
selection and take a new layer, fill "#7f7f7f" color by Paint
Bucket Tool (G key). go (Filter menu > Blur
> Gaussian blur), put value "8.7" and cut the blurred are as done
up on the eyeball.
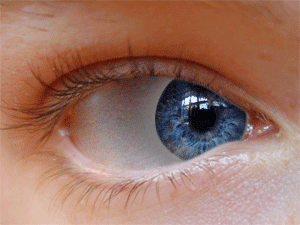
Use same upper step to make some more eyeball and put them on the different
position to make a complete animation but make sure each eyeball should have separate layer, the picture should be same here.
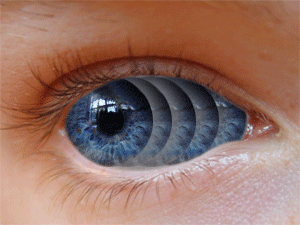
Now you have to work on the animation window (Window menu > Animation),
make adjustment of the entire eyeball layer on the separate frame. I have given
below animation window to make it clear.

Final result
Santosh Kumar
This is santosh kumar living in New Delhi (India) and love to work as a Web & Graphic Designing. I like to create sketch, background, illustration and vector graphics. Tutorialbunch.com is a very good place where I express my creativity.
|