|
Stitch Marks on the Face
In this photoshop tutorial, you will learn how to create a stitch marks effect on the face and you can draw it on any place of body. It is very interesting and enjoyable; I have done it by using four simple steps in the Photoshop. You need a handsome picture to apply stitch effect on.
This picture has been taken for the learning purpose.
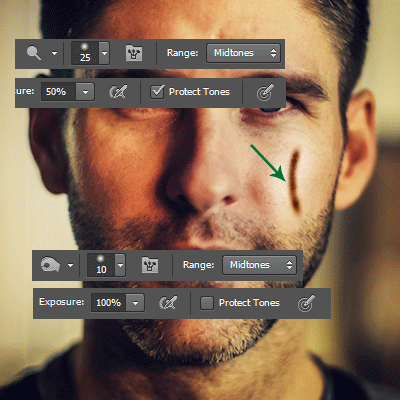
In the first step, you have to open a picture and select an area where you want to create stitch marks. Select Dodge Tool (O key) and adjust setting, apply on that area to show a swelling on the skin. Select Burn Tool (O key) with adjusts same settings and applies inside the swelling area. You have to change the brush size "10" to "2" and apply inside the dark area as given below picture.
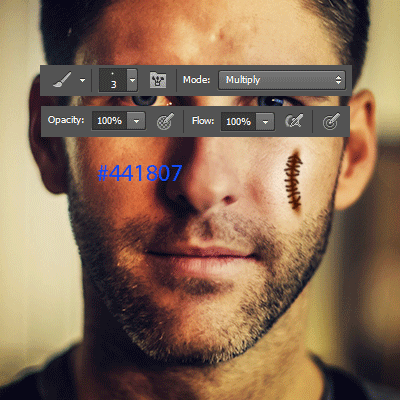
I am going to create thread's stitch on the wounded area, select Brush Tool (B key) and adjust settings with "#441807" color on new layer. Make some short line on the wound area as a sewing the skin.
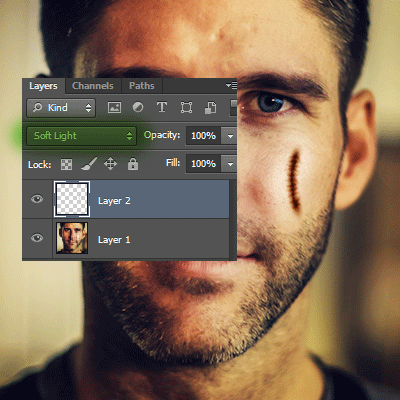
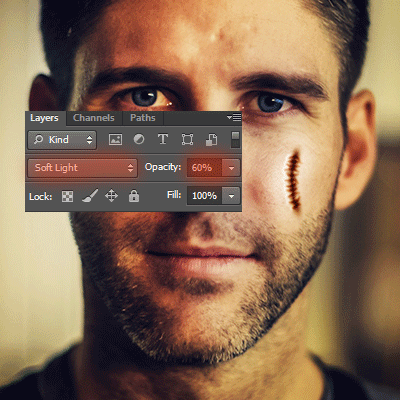
You have to work on the layer panel, take a new layer and change the layer settings "Normal" to "Soft Light", it will mix with the skin are real spot as showing by green spot here.
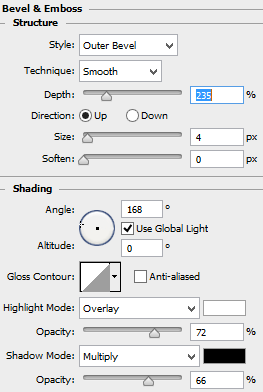
Now I am going to apply bevel effect on the thread, follow this path Layer Menu > Layer Style > Bevel & Emboss and make all the settings as given here.
It is looking very fad stitch so I am going to apply one more step, make duplicate layer by pressing (Ctrl + J) and reduce the opacity 100% to 60% to look more dark.
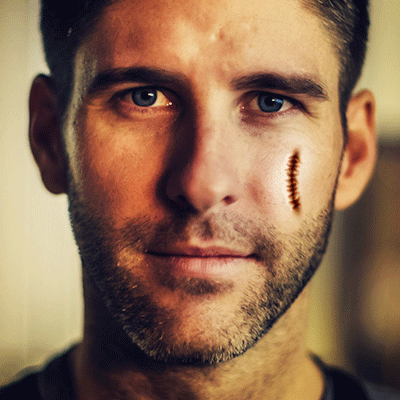
Now you have the final result and I hope you enjoyed the tutorial.
Santosh Kumar
This is santosh kumar living in New Delhi (India) and love to work as a Web & Graphic Designing. I like to create sketch, background, illustration and vector graphics. Tutorialbunch.com is a very good place where I express my creativity.
|