|
Swap Faces Technique
Hi
Today, I have a very interesting tutorials, how to easily swap face in photoshop? You will learn a simple technique to change the face by using effective tool. It has been done by used only sever step so follow and enjoy.
Face and head swapping is become necessary and common work to use in the model's picture for ecommerce, magazine cover, movie poster etc.
it is become very easy and convenience to swap the face in Photoshop, there are many different ways to make this effect.
Let’s Get Started, you need two people face picture to make this creativity. I have taken Photo from FreeImages for learning purpose, you can also take picture from there.
After completed the selection of a pictures, open the picture in the photoshop and change the layer's name "Body".
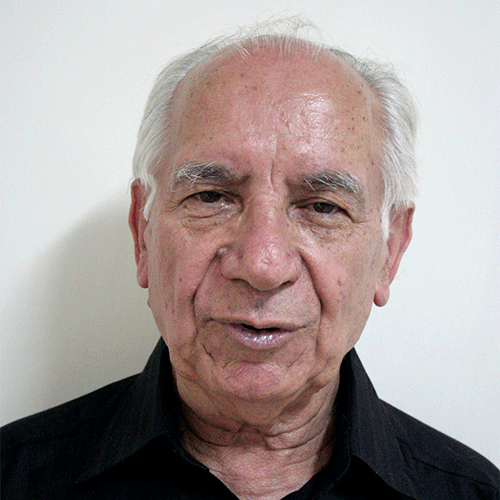
Select that face you want to swap on the target or models. Select Lasso Tool (L key), make selection of the face carefully, it should have covered eyes, nose and mouth area then past on face of the model as a working document, change layer name "Face" and reduce the Layer opacity 50%.
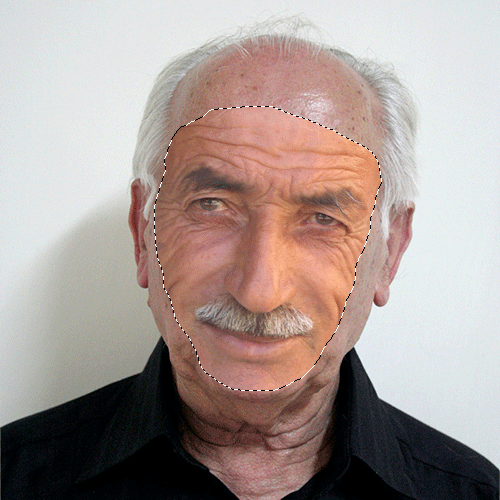
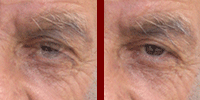
Now you have two faces on different position so you have to scale and adjust on right position of both faces to get best result. Choose Selection Tool (V key) and move up and down till the similar position of their eyes as showing below picture.
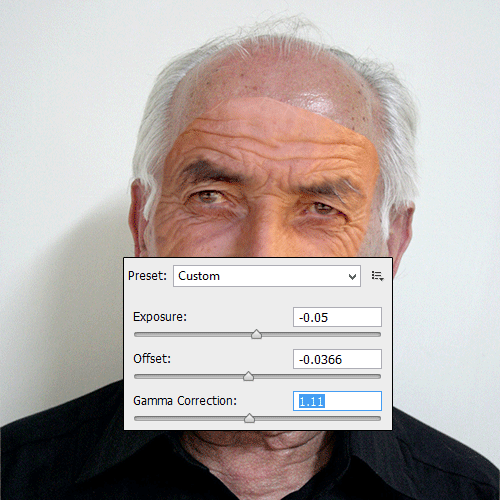
Let's make some exposure effect on the face layer to look batter and attractive, it has some fade so it need to change the tone of the picture. Go to Image menu > Adjustments > Exposure and adjust the settings as given below picture.
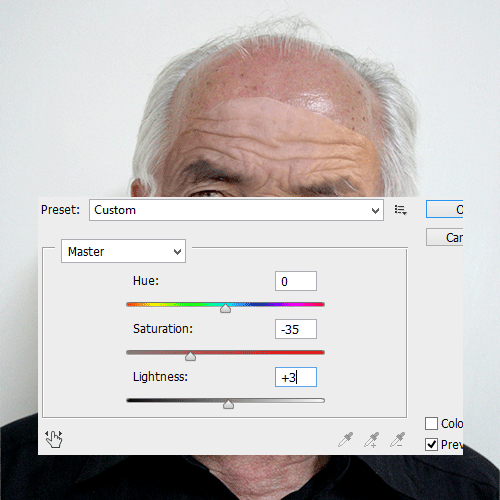
This is the most important part of this creativity, in this step you have to match the color of face layer with main picture, still selected face layer go to Image Manu > Adjustments > Hue/Saturation and adjust the settings as given below picture.
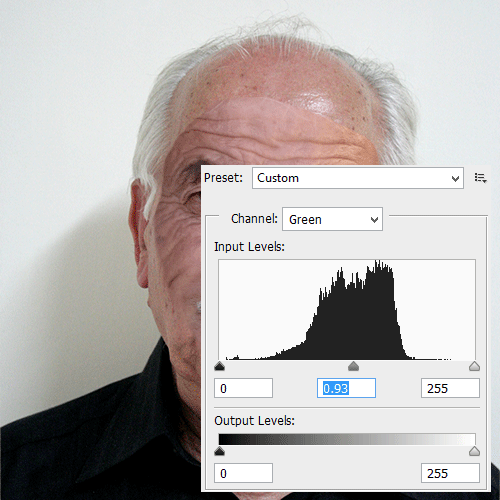
The matching color process has been done, now you have to increase the level of the picture's appearance so go to Image menu > Adjustments > Level then adjust the graph with right value as below.
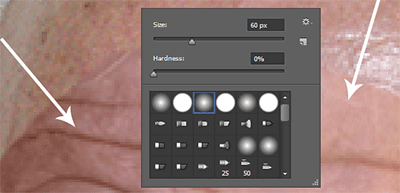
It is time to apply final touch, still selected, still selected face layer. Select Eraser Tool (E key) and adjust the settings in the optional bar. Now you have work very carefully with eraser tool, apply eraser tool on the bank of the face as showing the white arrow. You will get the result as removing the edge of the cut face.
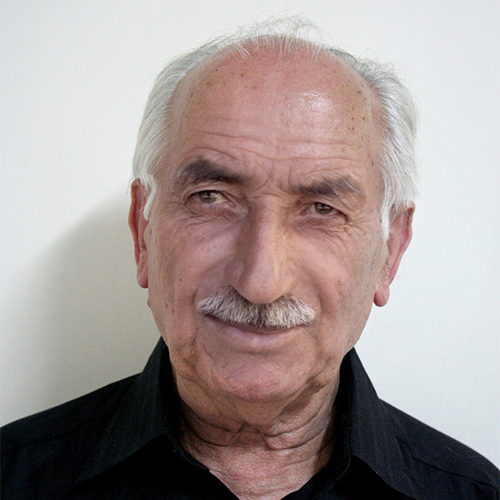
Now it is time to enjoy because you get the final result.
Santosh Kumar
This is santosh kumar living in New Delhi (India) and love to work as a Web & Graphic Designing. I like to create sketch, background, illustration and vector graphics. Tutorialbunch.com is a very good place where I express my creativity.
|